
FlutterQuill
Flutter 的富文本编辑器

MIT License PRs Welcome Watch on GitHub Star on GitHub Watch on GitHub
FlutterQuill 是一个富文本编辑器,同样也是 Quill 在 Flutter 的版本。
该库是为移动平台构建的 “ 所见即所得 ” 的富文本编辑器,同时我们还正在对 Web 平台进行兼容。查看我们的 Youtube 播放列表 或 代码介绍 以了解代码的详细内容。你可以加入我们的 Slack Group 来进行讨论。
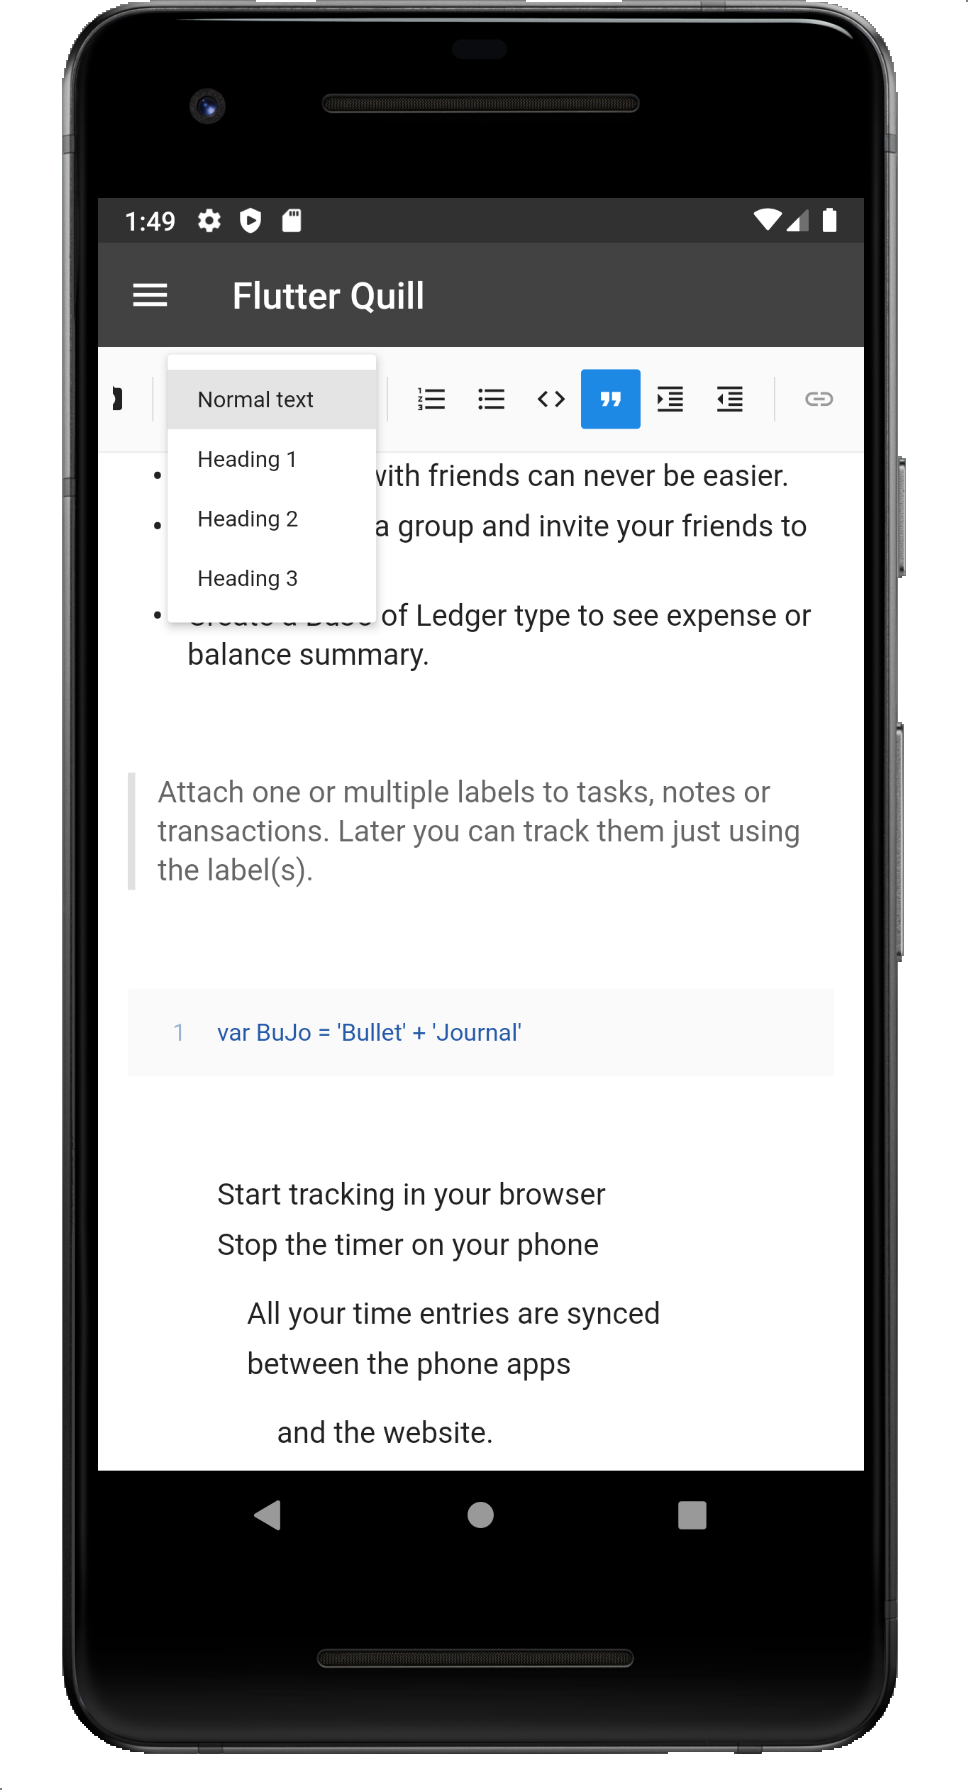
Demo App: https://bulletjournal.us/home/index.html
Pub: https://pub.dev/packages/flutter_quill
查看 示例 目录来学习 FlutterQuill 最简单的使用方法,你通常只需要实例化一个控制器:
QuillController _controller = QuillController.basic();然后在你的 App 中嵌入工具栏和编辑器,例如:
Column(
  children: [
    QuillToolbar.basic(controller: _controller),
    Expanded(
      child: Container(
        child: QuillEditor.basic(
          controller: _controller,
          readOnly: false, // true for view only mode
        ),
      ),
    )
  ],
)
查看 示例页面 以了解高级用户。
该库使用 Quill 作为内部数据格式。
_controller.document.toDelta() 获取增量。_controller.document.toPlainText() 获取纯文本。FlutterQuill 提供了一些 JSON 序列化支持,以便您可以保存和打开文档。 要将文档保存为 JSON 类型,请执行以下操作:
var json = jsonEncode(_controller.document.toDelta().toJson());然后你就可以将其存储。
想要 FlutterQuill 编辑器使用你之前存储的 JSON 数据,请执行以下操作:
var myJSON = jsonDecode(incomingJSONText);
_controller = QuillController(
          document: Document.fromJson(myJSON),
selection: TextSelection.collapsed(offset: 0));对于 web 开发,请执行 flutter config --enable-web 来获取对 flutter 的支持或使用 ReactQuill 获取对 React 的支持。
进行 Web 开发需要提供 EmbedBuilder, 参考:defaultEmbedBuilderWeb.
进行 Web 开发还需要提供 webImagePickImpl, 参考: 示例页面.
在桌面端进行工具栏按钮开发,需要提供 filePickImpl。参考: 示例页面.
QuillToolbar 类允许您自定义可用的格式选项。示例页面 提供了高级使用和配置的示例代码。
在编辑器工具栏中,提供了具有字号功能的下拉菜单。 这可以通过 showFontSize 启用或禁用。
启用后,可以通过可选的 fontSizeValues 属性修改默认字号。 fontSizeValues 接受一个 Map<String, String>,其中包含一个 String 类型的标题和一个 String 类型的字号。 例子:
fontSizeValues: const {'Small': '8', 'Medium': '24.5', 'Large': '46'}字体大小可以使用 0 值清除,例如:
fontSizeValues: const {'Small': '8', 'Medium': '24.5', 'Large': '46', 'Clear': '0'}想要使用你自己的字体,请更新你的 assets folder 并且传入 fontFamilyValues。详情内容请查看 this change, this article 和 this。
您可以通过 customButtons 可选参数将自定义按钮添加到工具栏的末尾,该参数接收的了行是 QuillCustomButton 的 List。
要添加一个 Icon,我们应该实例化一个新的新的 QuillCustomButton
QuillCustomButton(
        icon:Icons.ac_unit,
        onTap: () {
          debugPrint('snowflake');
        }
    ),
每个 QuillCustomButton 都是 customButtons 可选参数的一部分,如下所示:
QuillToolbar.basic(
   (...),
    customButtons: [
        QuillCustomButton(
            icon:Icons.ac_unit,
            onTap: () {
              debugPrint('snowflake1');
            }
        ),

        QuillCustomButton(
            icon:Icons.ac_unit,
            onTap: () {
              debugPrint('snowflake2');
            }
        ),

        QuillCustomButton(
            icon:Icons.ac_unit,
            onTap: () {
              debugPrint('snowflake3');
            }
        ),
]定义 mobileWidth、mobileHeight、mobileMargin、mobileAlignment如下:
{
      "insert": {
         "image": "https://user-images.githubusercontent.com/122956/72955931-ccc07900-3d52-11ea-89b1-d468a6e2aa2b.png"
      },
      "attributes":{
         "style":"mobileWidth: 50; mobileHeight: 50; mobileMargin: 10; mobileAlignment: topLeft"
      }
}有时您想在文本中添加一些自定义内容或者是自定义小部件。 比如向文本添加注释,或者在文本编辑器中添加的任何自定义内容。
您唯一需要做的就是添加一个 CustomBlockEmbed 并将其映射到 customElementsEmbedBuilder 中,以将自定义块内的数据转换为一个 widget!
例子:
从 CustomBlockEmbed 开始,我们在这里扩展它并添加对 'Note' widget 的方法,这就是 Document,flutter_quill 使用它来呈现富文本。
class NotesBlockEmbed extends CustomBlockEmbed {
  const NotesBlockEmbed(String value) : super(noteType, value);

  static const String noteType = 'notes';

  static NotesBlockEmbed fromDocument(Document document) =>
      NotesBlockEmbed(jsonEncode(document.toDelta().toJson()));

  Document get document => Document.fromJson(jsonDecode(data));
}
然后,我们需要将这个 “notes” 类型映射到 widget 中。在例子中,我使用 ListTile 来显示它,使用 onTap 方法俩编辑内容,另外不要忘记将此方法添加到 QuillEditor 中。
Widget customElementsEmbedBuilder(
  BuildContext context,
  QuillController controller,
  CustomBlockEmbed block,
  bool readOnly,
  void Function(GlobalKey videoContainerKey)? onVideoInit,
) {
  switch (block.type) {
    case 'notes':
      final notes = NotesBlockEmbed(block.data).document;

      return Material(
        color: Colors.transparent,
        child: ListTile(
          title: Text(
            notes.toPlainText().replaceAll('\n', ' '),
            maxLines: 3,
            overflow: TextOverflow.ellipsis,
          ),
          leading: const Icon(Icons.notes),
          onTap: () => _addEditNote(context, document: notes),
          shape: RoundedRectangleBorder(
            borderRadius: BorderRadius.circular(10),
            side: const BorderSide(color: Colors.grey),
          ),
        ),
      );
    default:
      return const SizedBox();
  }
}然后,编写一个方法来添加/编辑内容,showDialog 方法显示 Quill 编辑器以编辑内容,用户编辑完成后,需要检查文档是否有内容,如果有内容,在 CustomBlockEmbed 中添加/编辑 NotesBlockEmbed(注意,如果没有在 NotesBlockEmbed 中传递 CustomBlockEmbed ,编辑将不会生效)。
Future<void> _addEditNote(BuildContext context, {Document? document}) async {
  final isEditing = document != null;
  final quillEditorController = QuillController(
    document: document ?? Document(),
    selection: const TextSelection.collapsed(offset: 0),
  );

  await showDialog(
    context: context,
    builder: (context) => AlertDialog(
      titlePadding: const EdgeInsets.only(left: 16, top: 8),
      title: Row(
        mainAxisAlignment: MainAxisAlignment.spaceBetween,
        children: [
          Text('${isEditing ? 'Edit' : 'Add'} note'),
          IconButton(
            onPressed: () => Navigator.of(context).pop(),
            icon: const Icon(Icons.close),
          )
        ],
      ),
      content: QuillEditor.basic(
        controller: quillEditorController,
        readOnly: false,
      ),
    ),
  );

  if (quillEditorController.document.isEmpty()) return;

  final block = BlockEmbed.custom(
    NotesBlockEmbed.fromDocument(quillEditorController.document),
  );
  final controller = _controller!;
  final index = controller.selection.baseOffset;
  final length = controller.selection.extentOffset - index;

  if (isEditing) {
    final offset = getEmbedNode(controller, controller.selection.start).item1;
    controller.replaceText(
        offset, 1, block, TextSelection.collapsed(offset: offset));
  } else {
    controller.replaceText(index, length, block, null);
  }
}
这样我们就成功的在富文本编辑器中添加了一个自定义小组件。

更多信息和视频示例,请参阅 PR of this feature
有关更多详细信息,请查看 this YouTube video
该库为 quill 工具栏和编辑器提供翻译,除非您设置自己的语言环境,否则它将遵循系统语言环境:
QuillToolbar(locale: Locale('fr'), ...)
QuillEditor(locale: Locale('fr'), ...)
目前,可提供以下 22 种语言环境的翻译:
Locale('en')Locale('ar')Locale('de')Locale('da')Locale('fr')Locale('zh', 'CN')Locale('zh', 'HK')Locale('ko')Locale('ru')Locale('es')Locale('tr')Locale('uk')Locale('ur')Locale('pt')Locale('pl')Locale('vi')Locale('id')Locale('nl')Locale('no')Locale('fa')Locale('hi')Locale('sr')翻译文件位于 toolbar.i18n.dart。 随意贡献您自己的翻译,只需复制英文翻译映射并将值替换为您的翻译。 然后打开一个拉取请求,这样每个人都可以从您的翻译中受益!


<img src= "https://user-images.githubusercontent.com/122956/72955931-ccc07900-3d52-11ea-89b1-d468a6e2aa2b.png" width="150px" height="150px">