使用 OpenTelemetry 实现 LiveKit 可观测性与监控
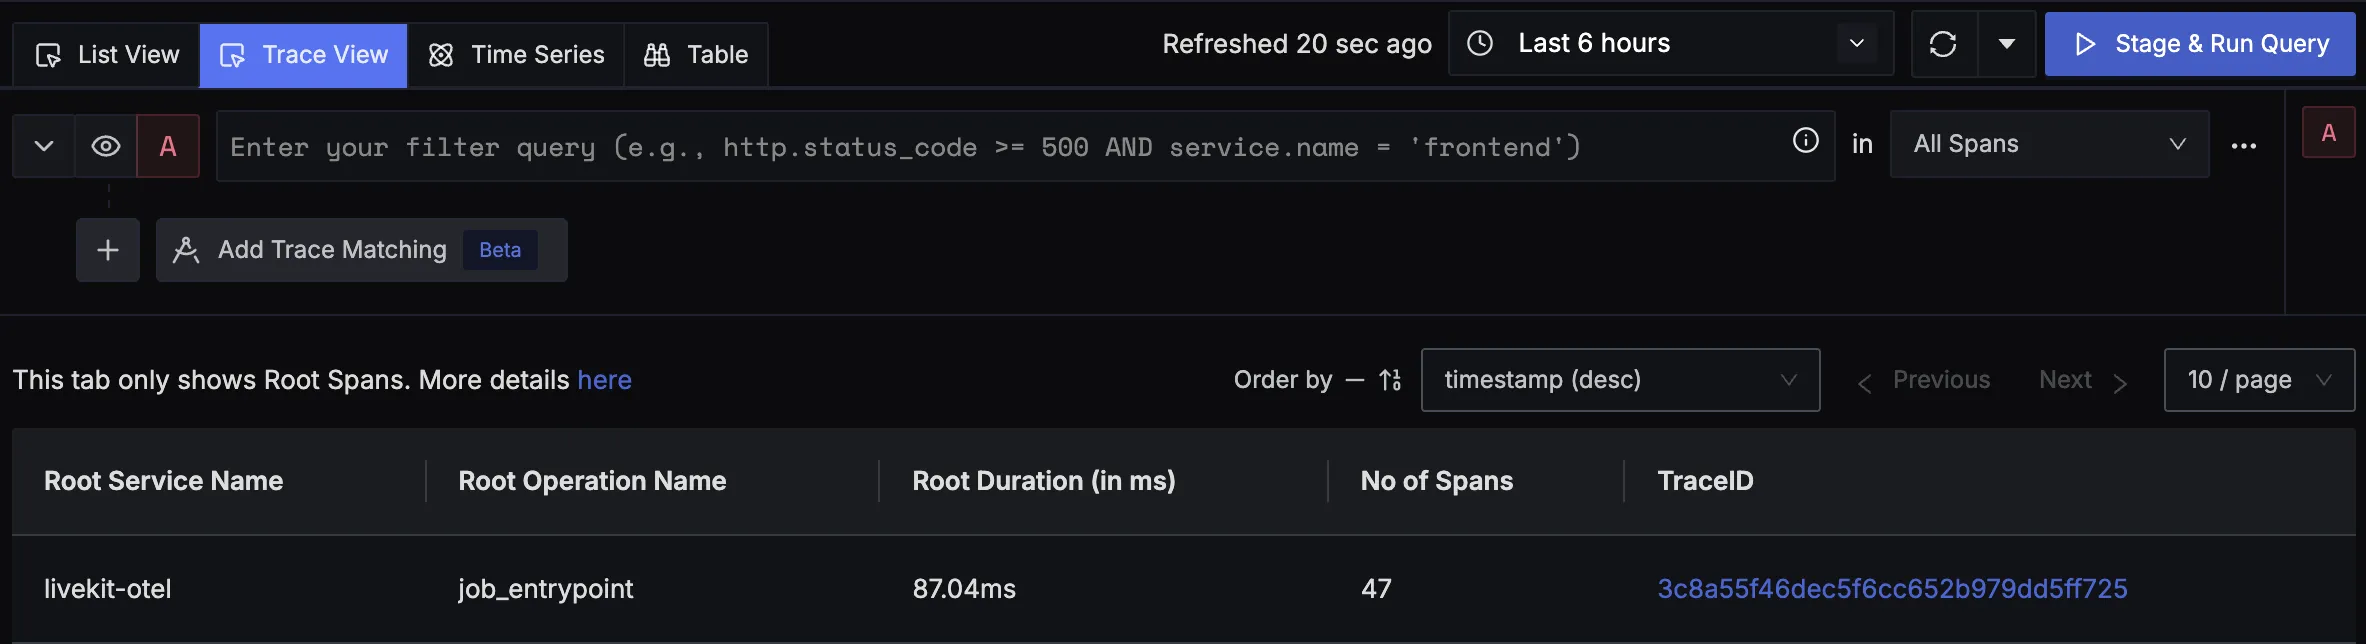
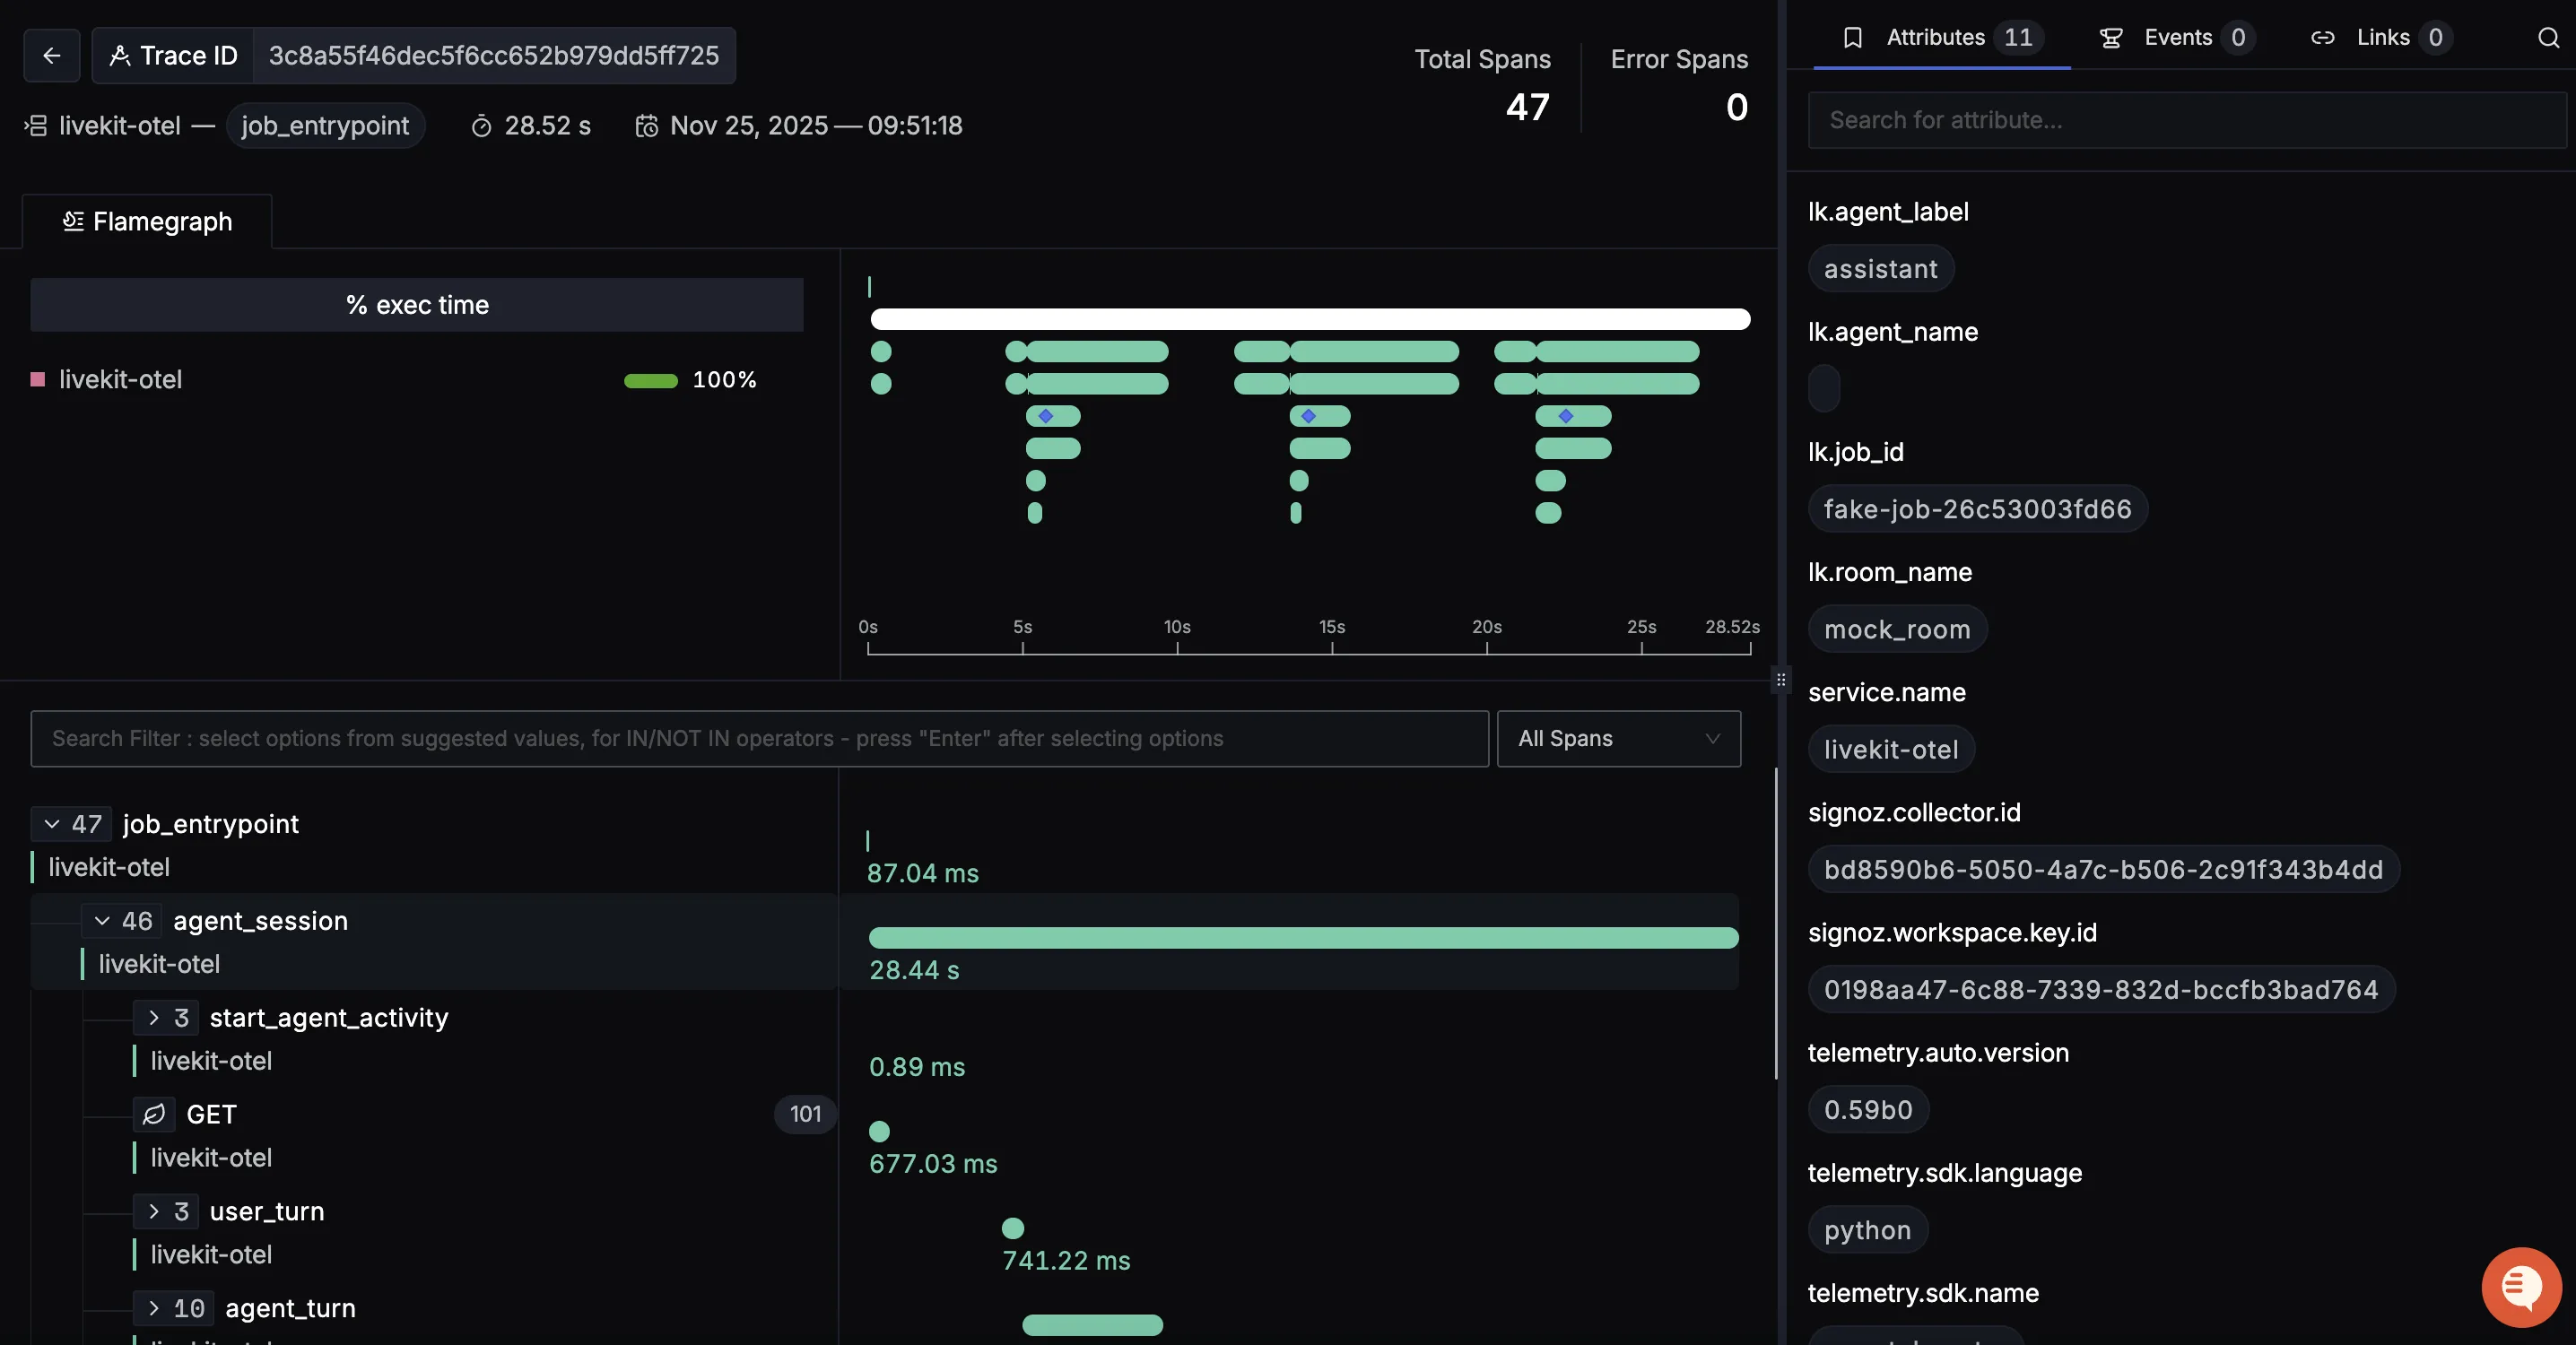
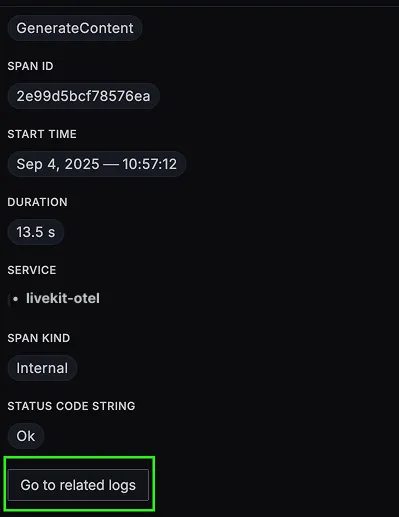
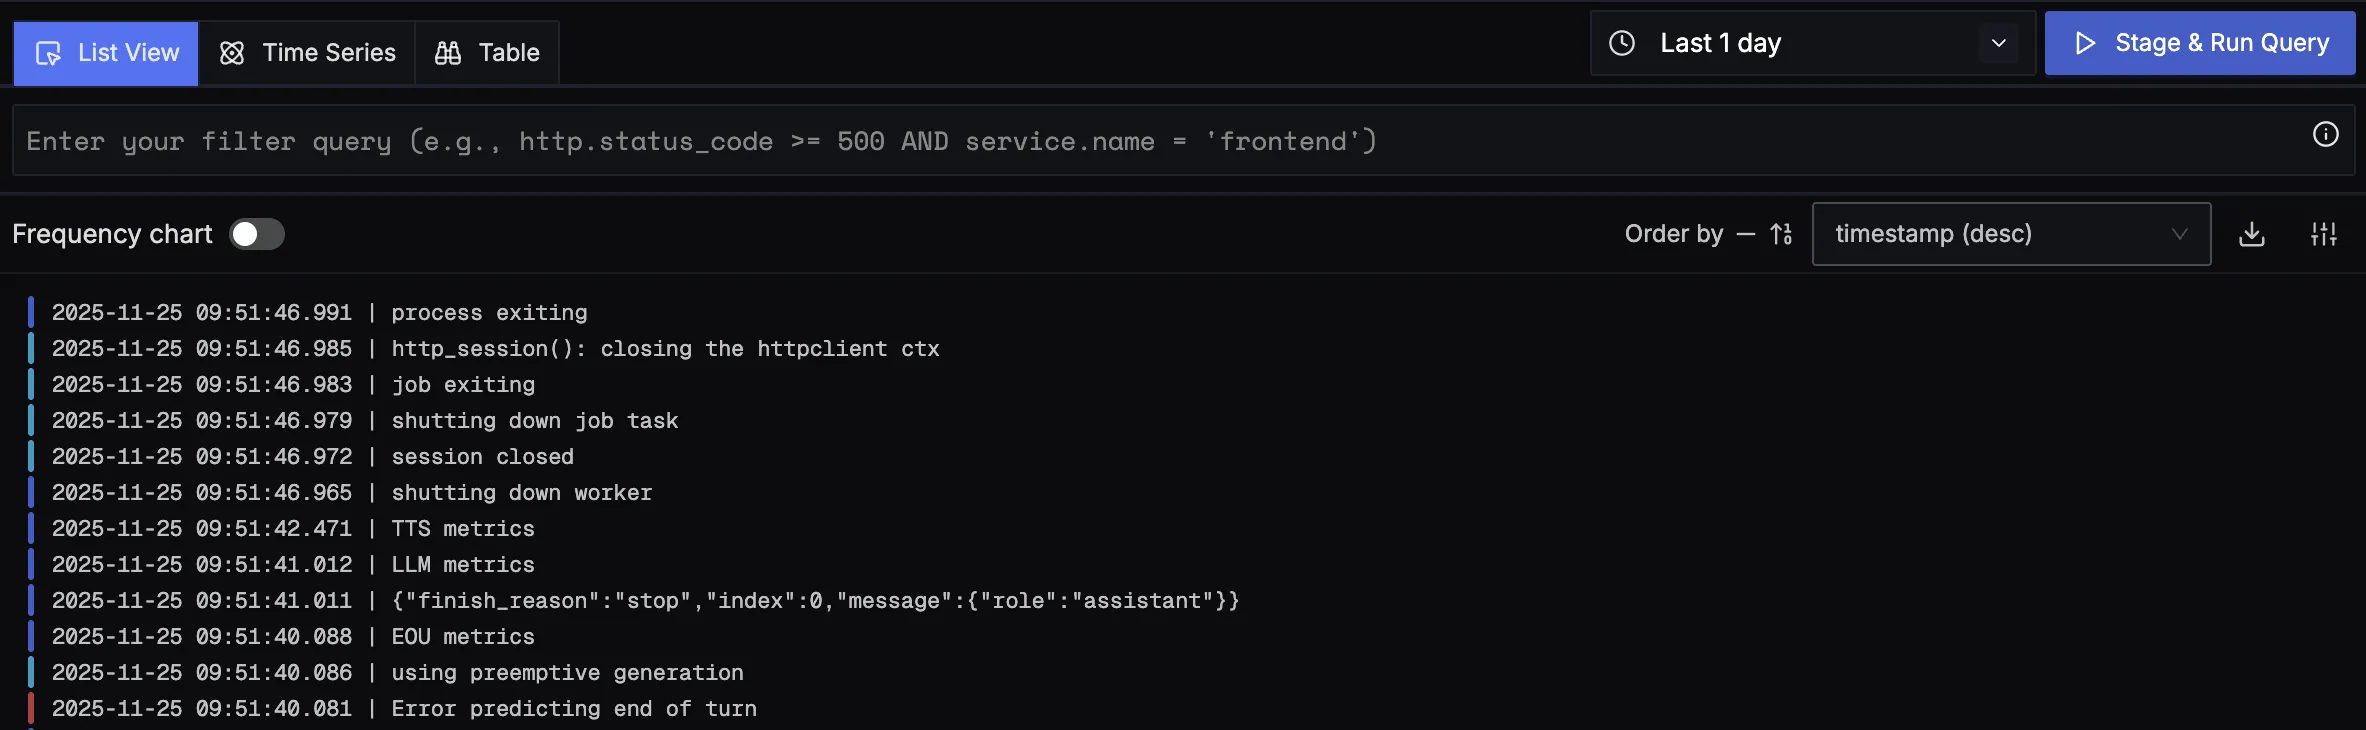
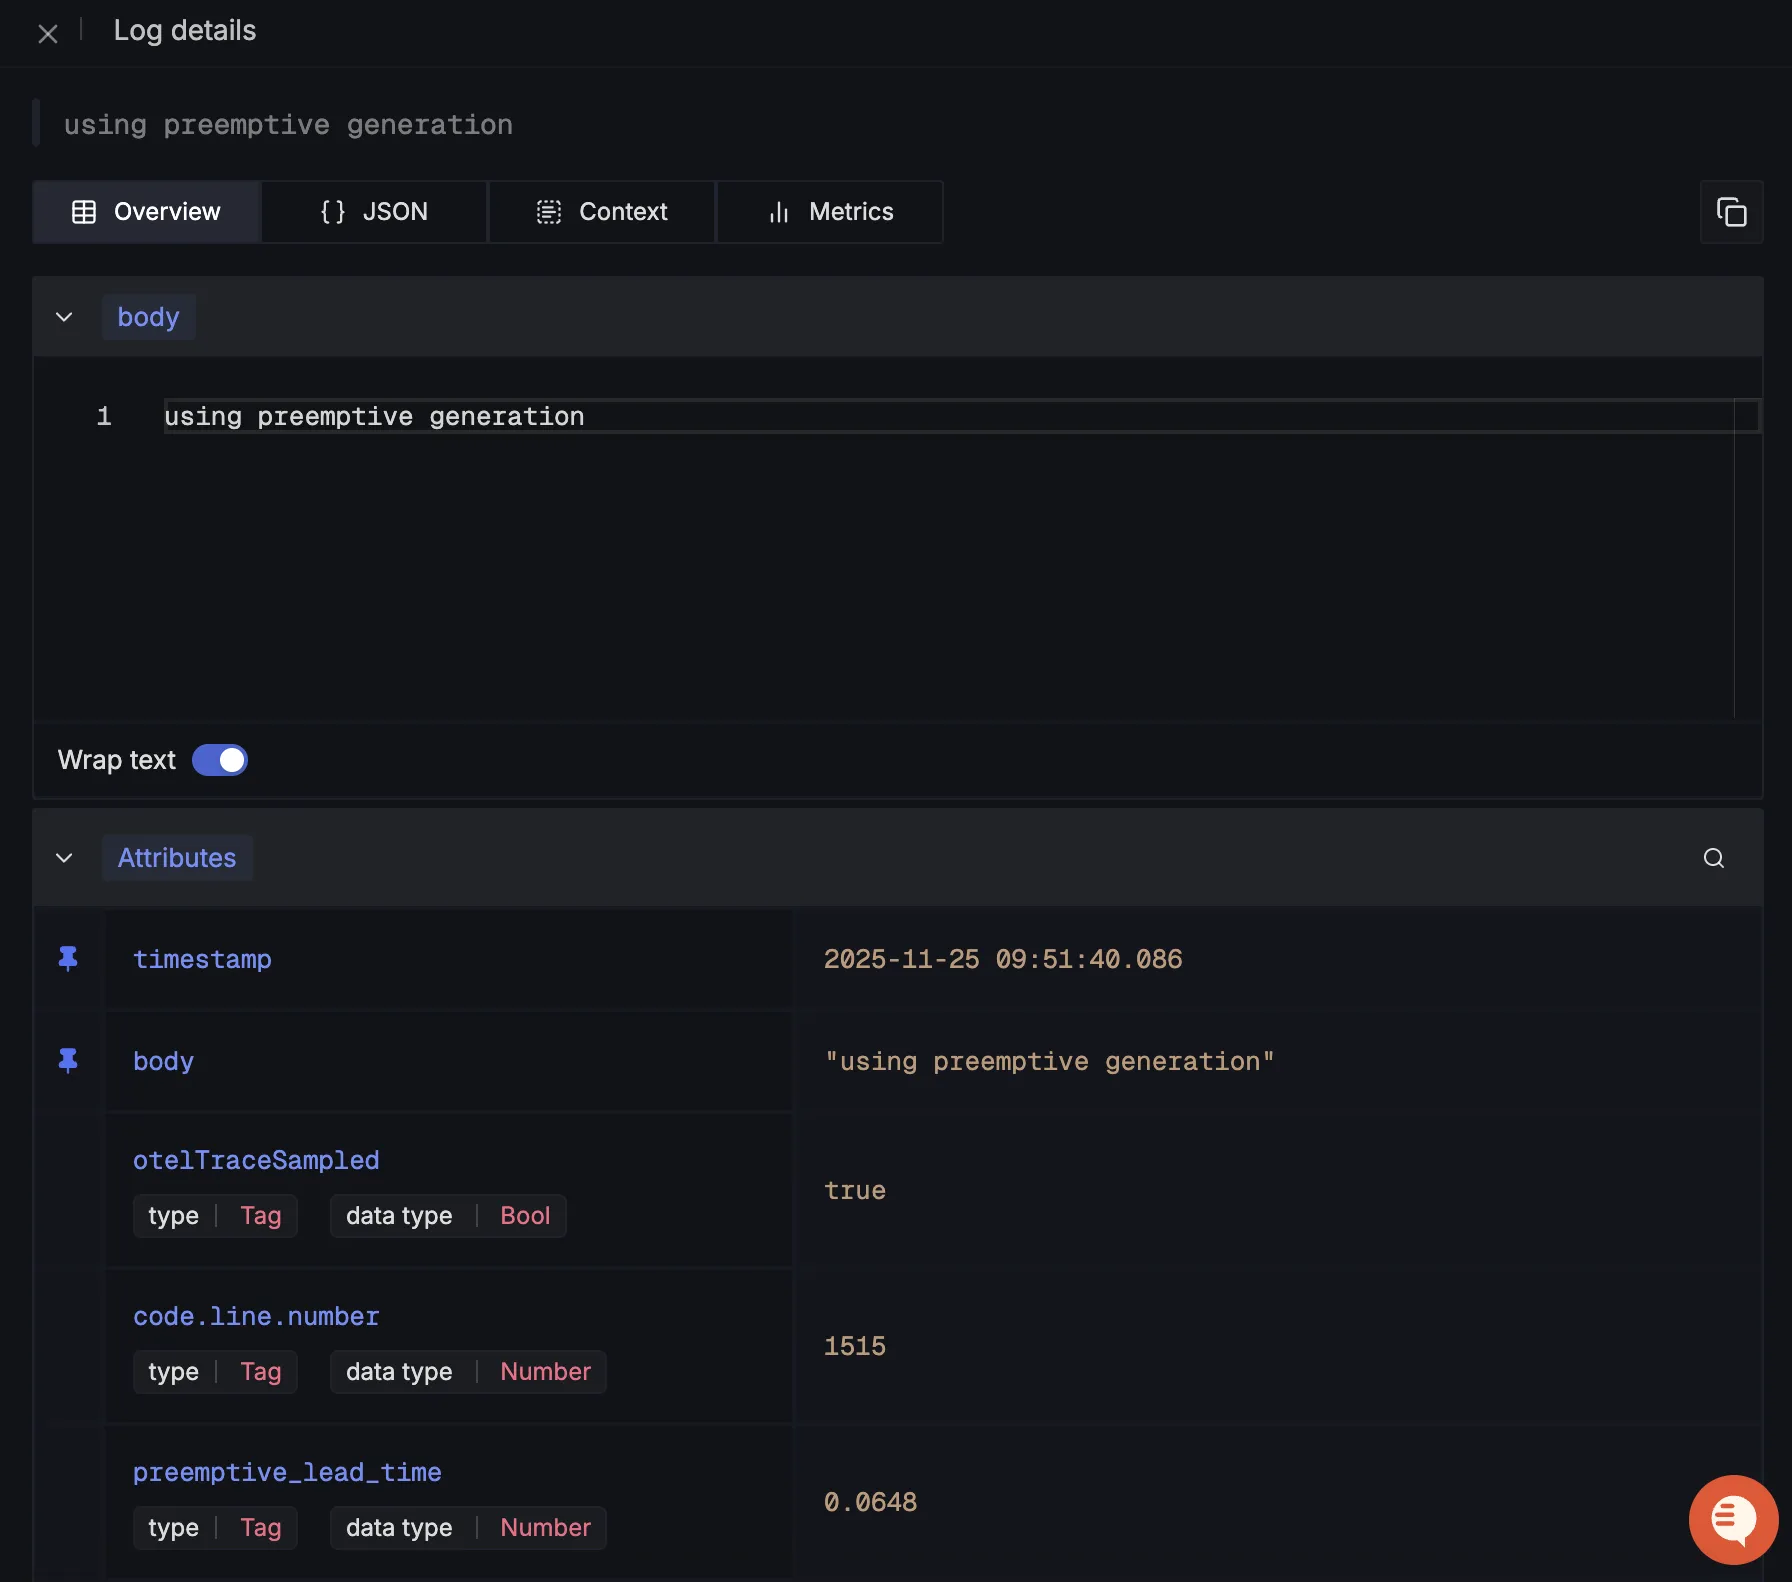
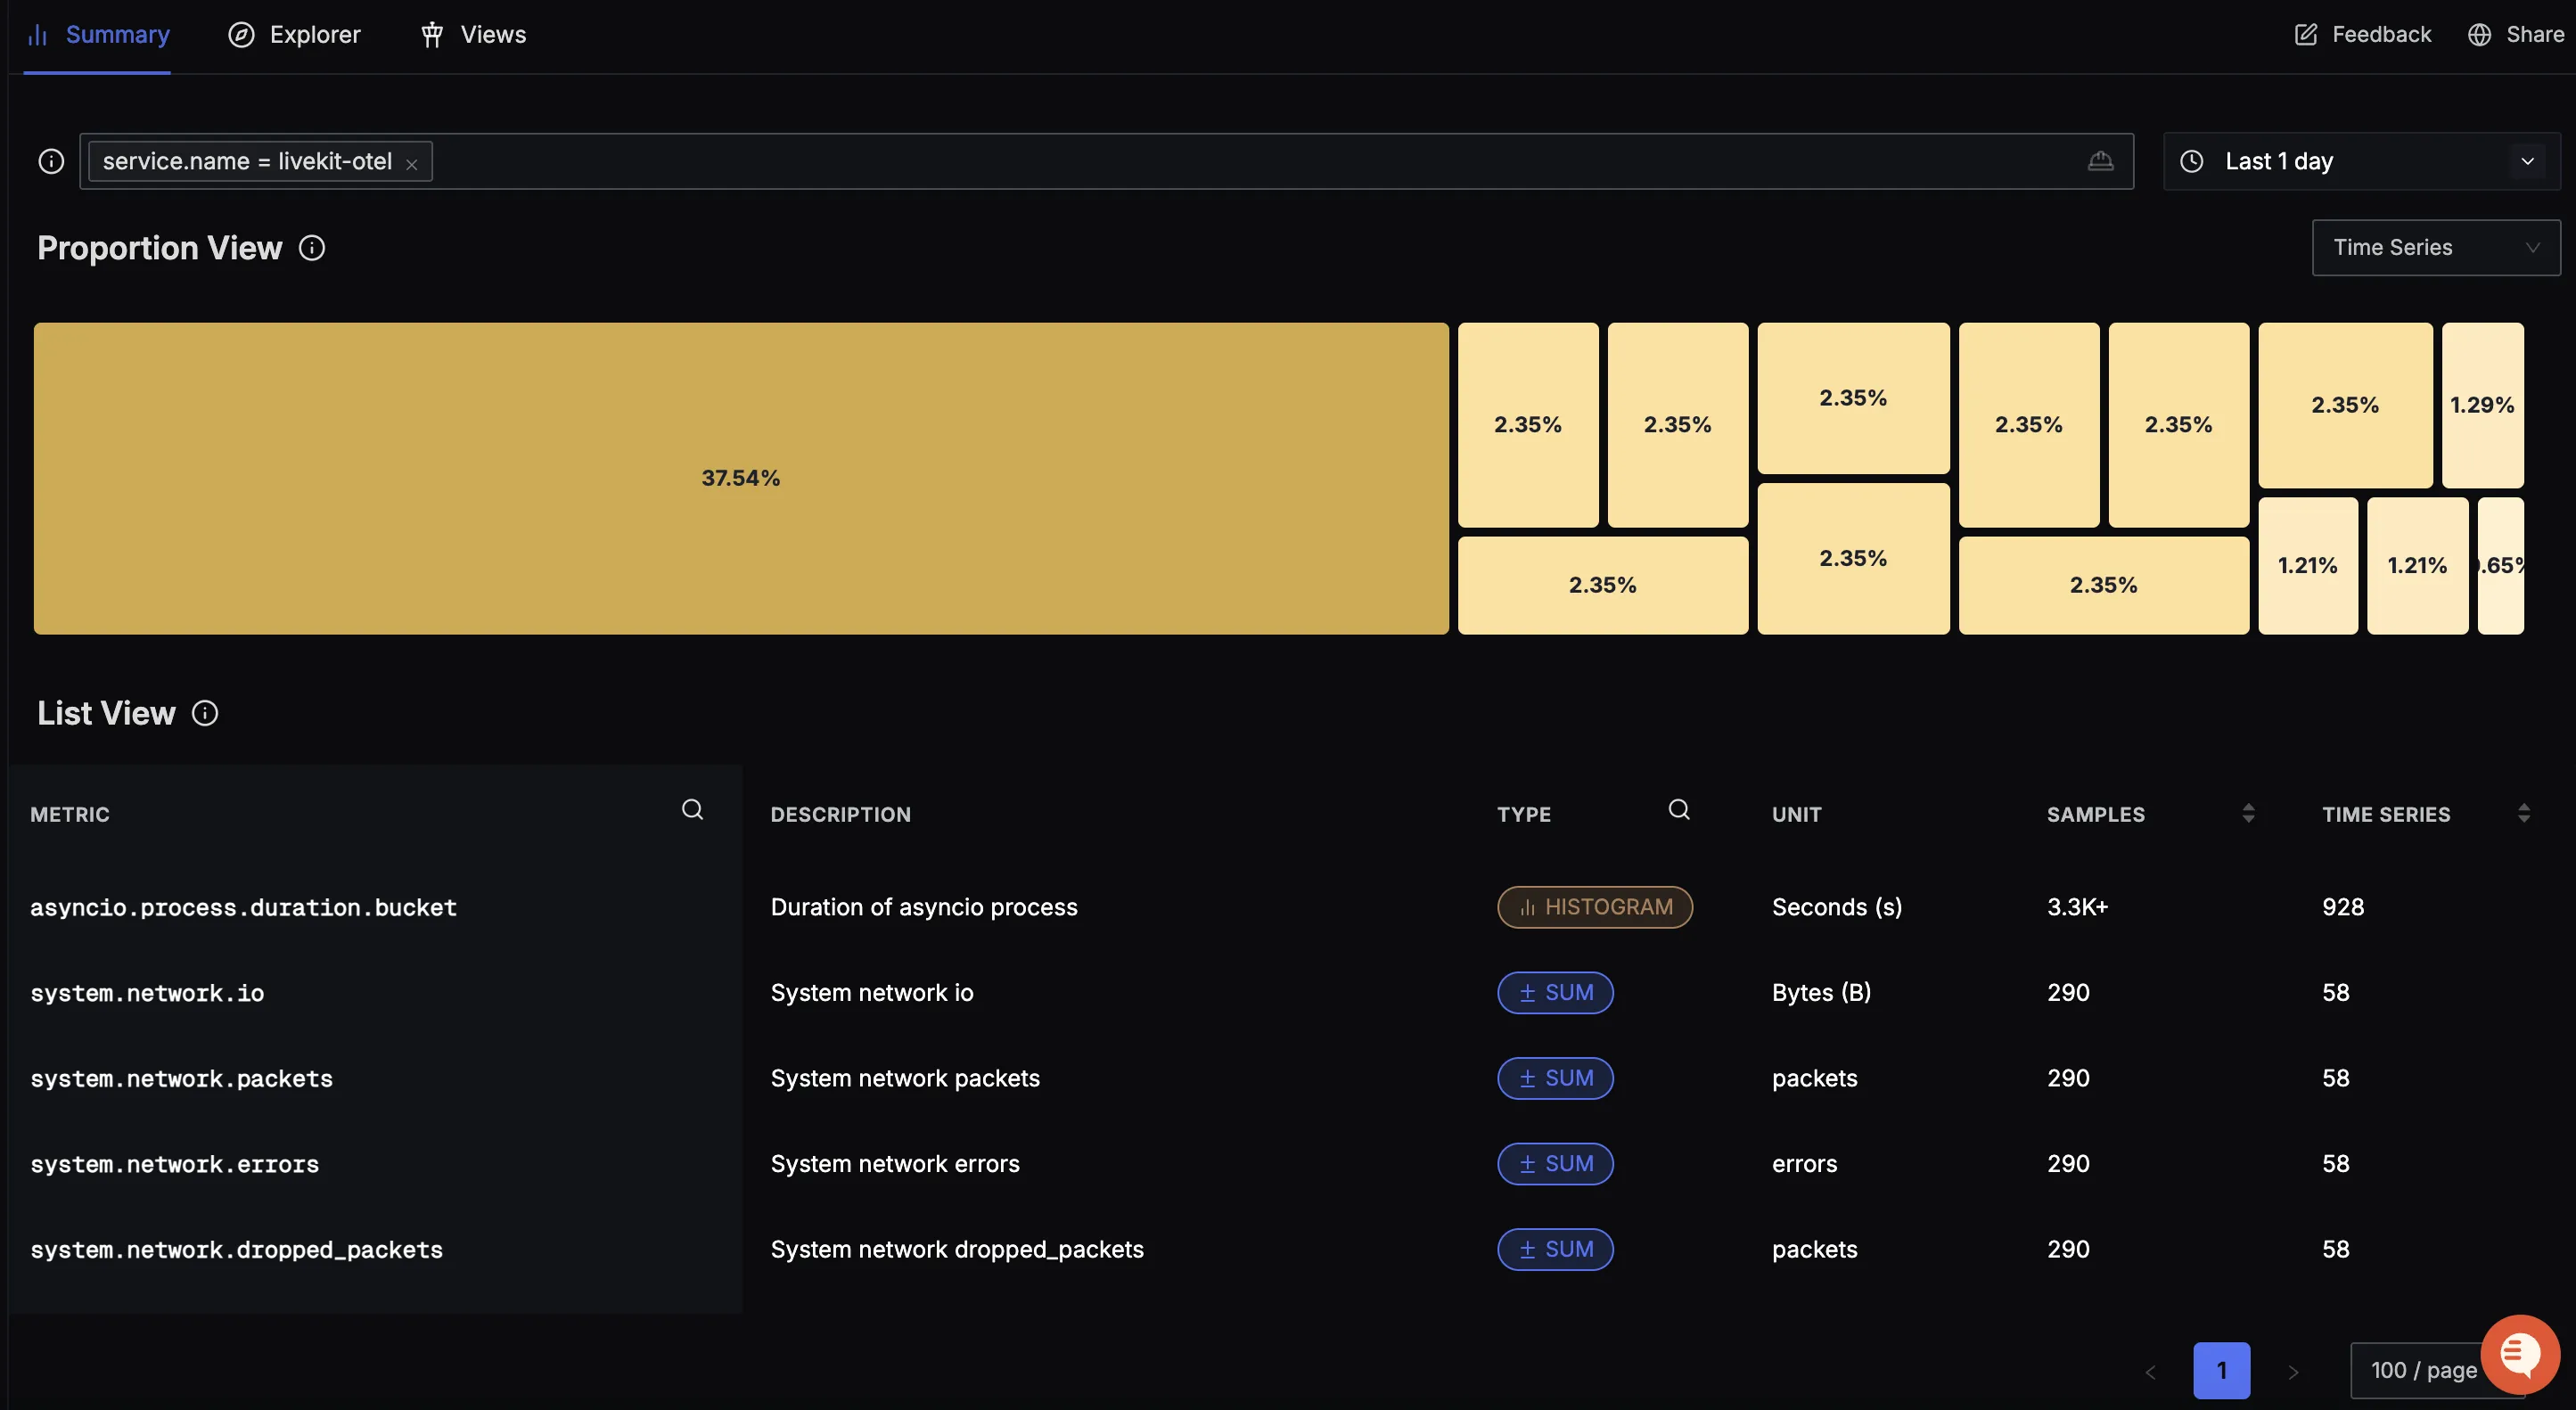
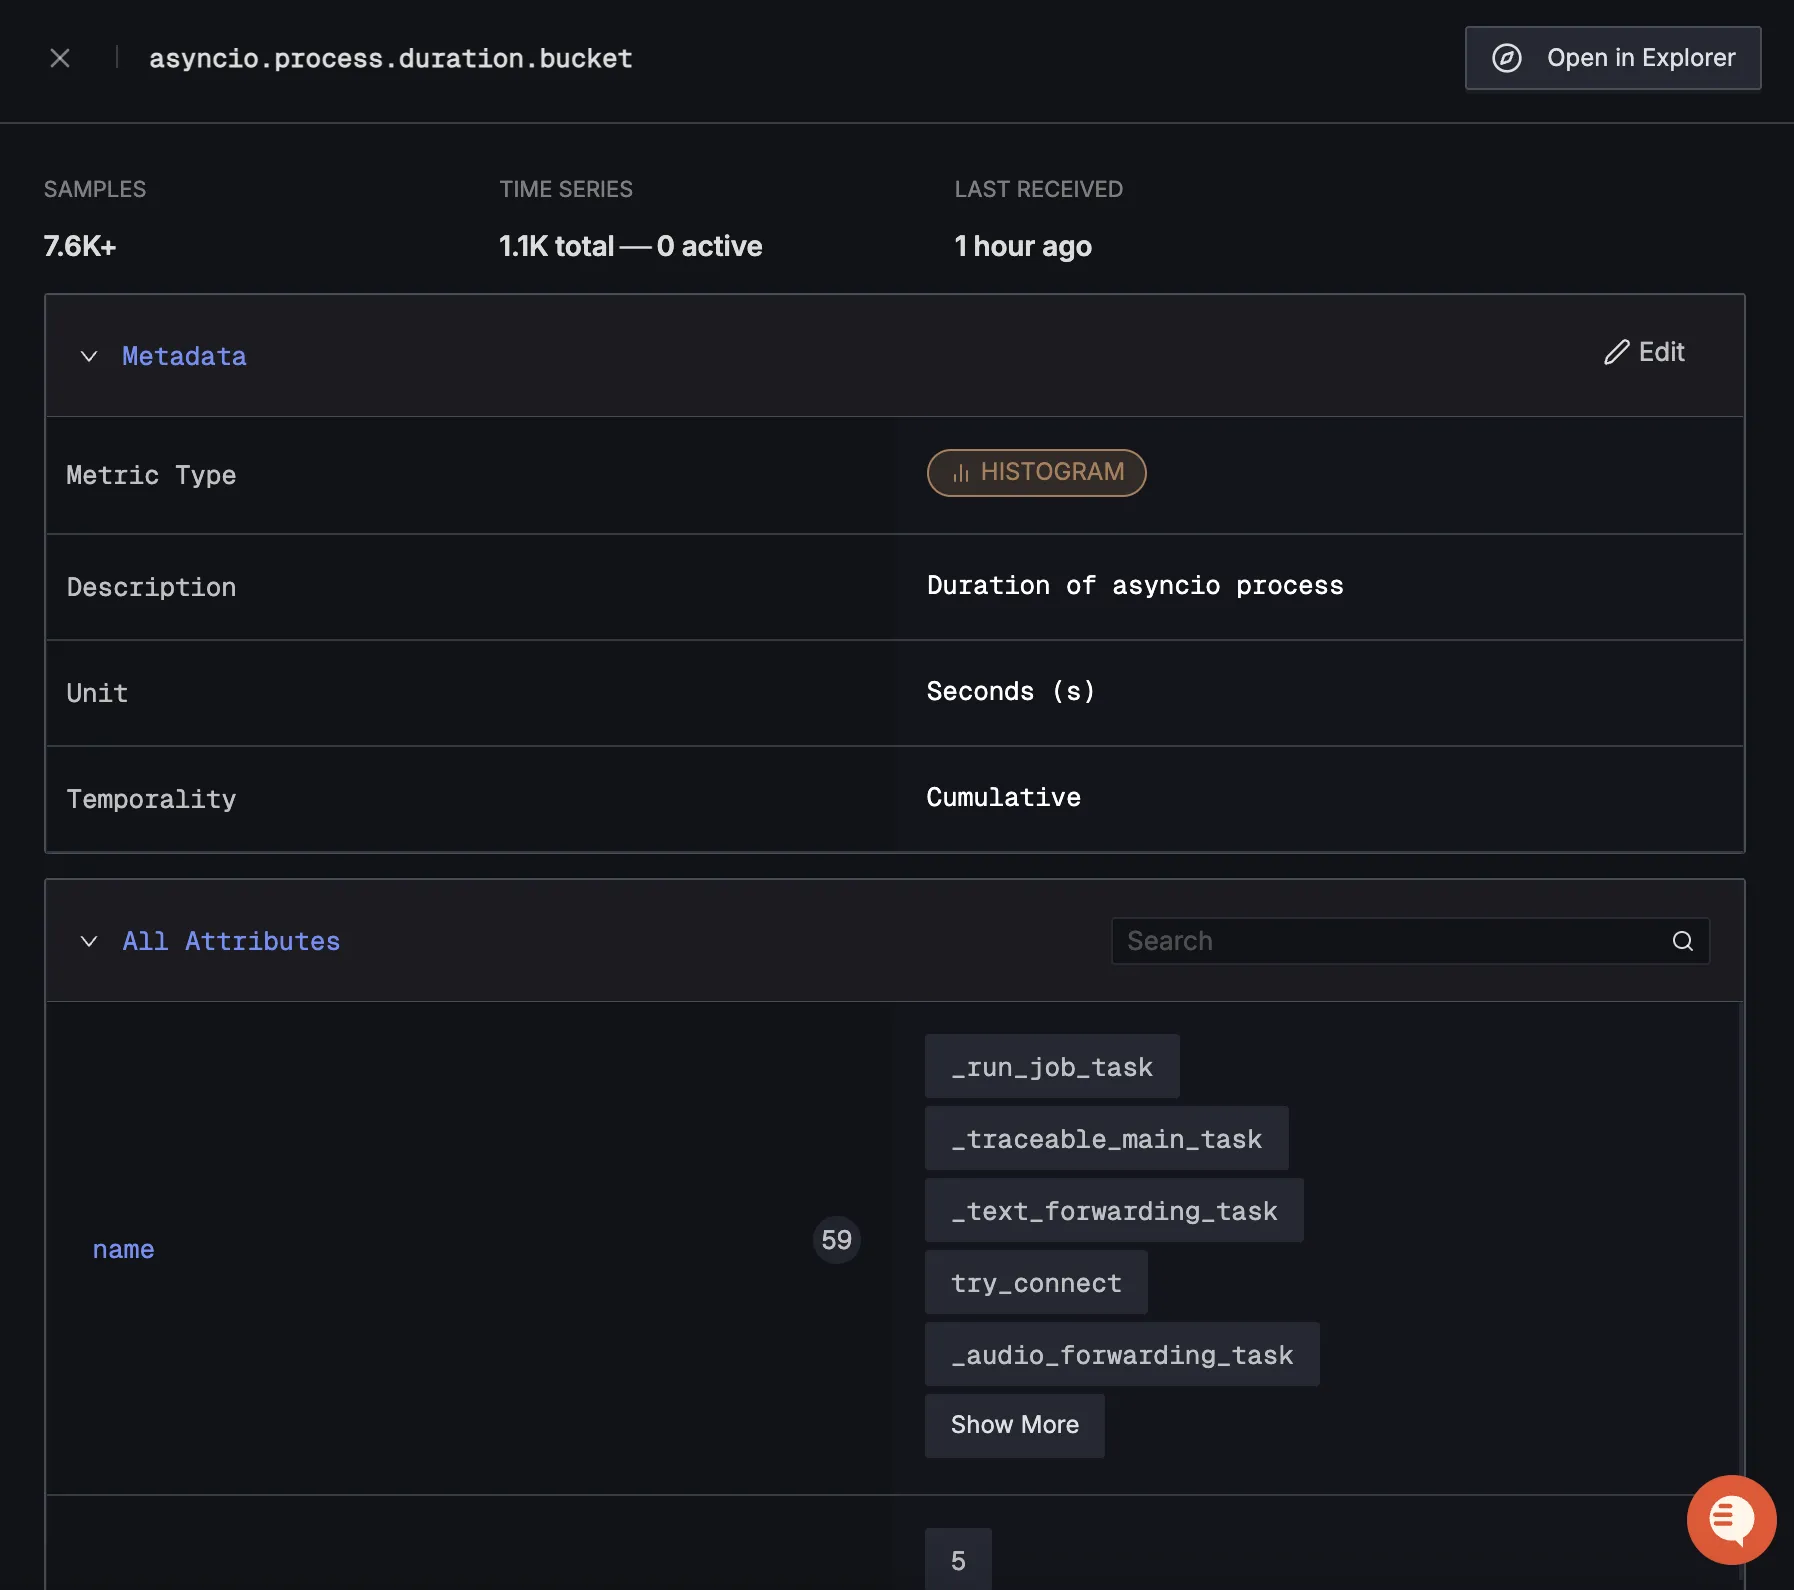
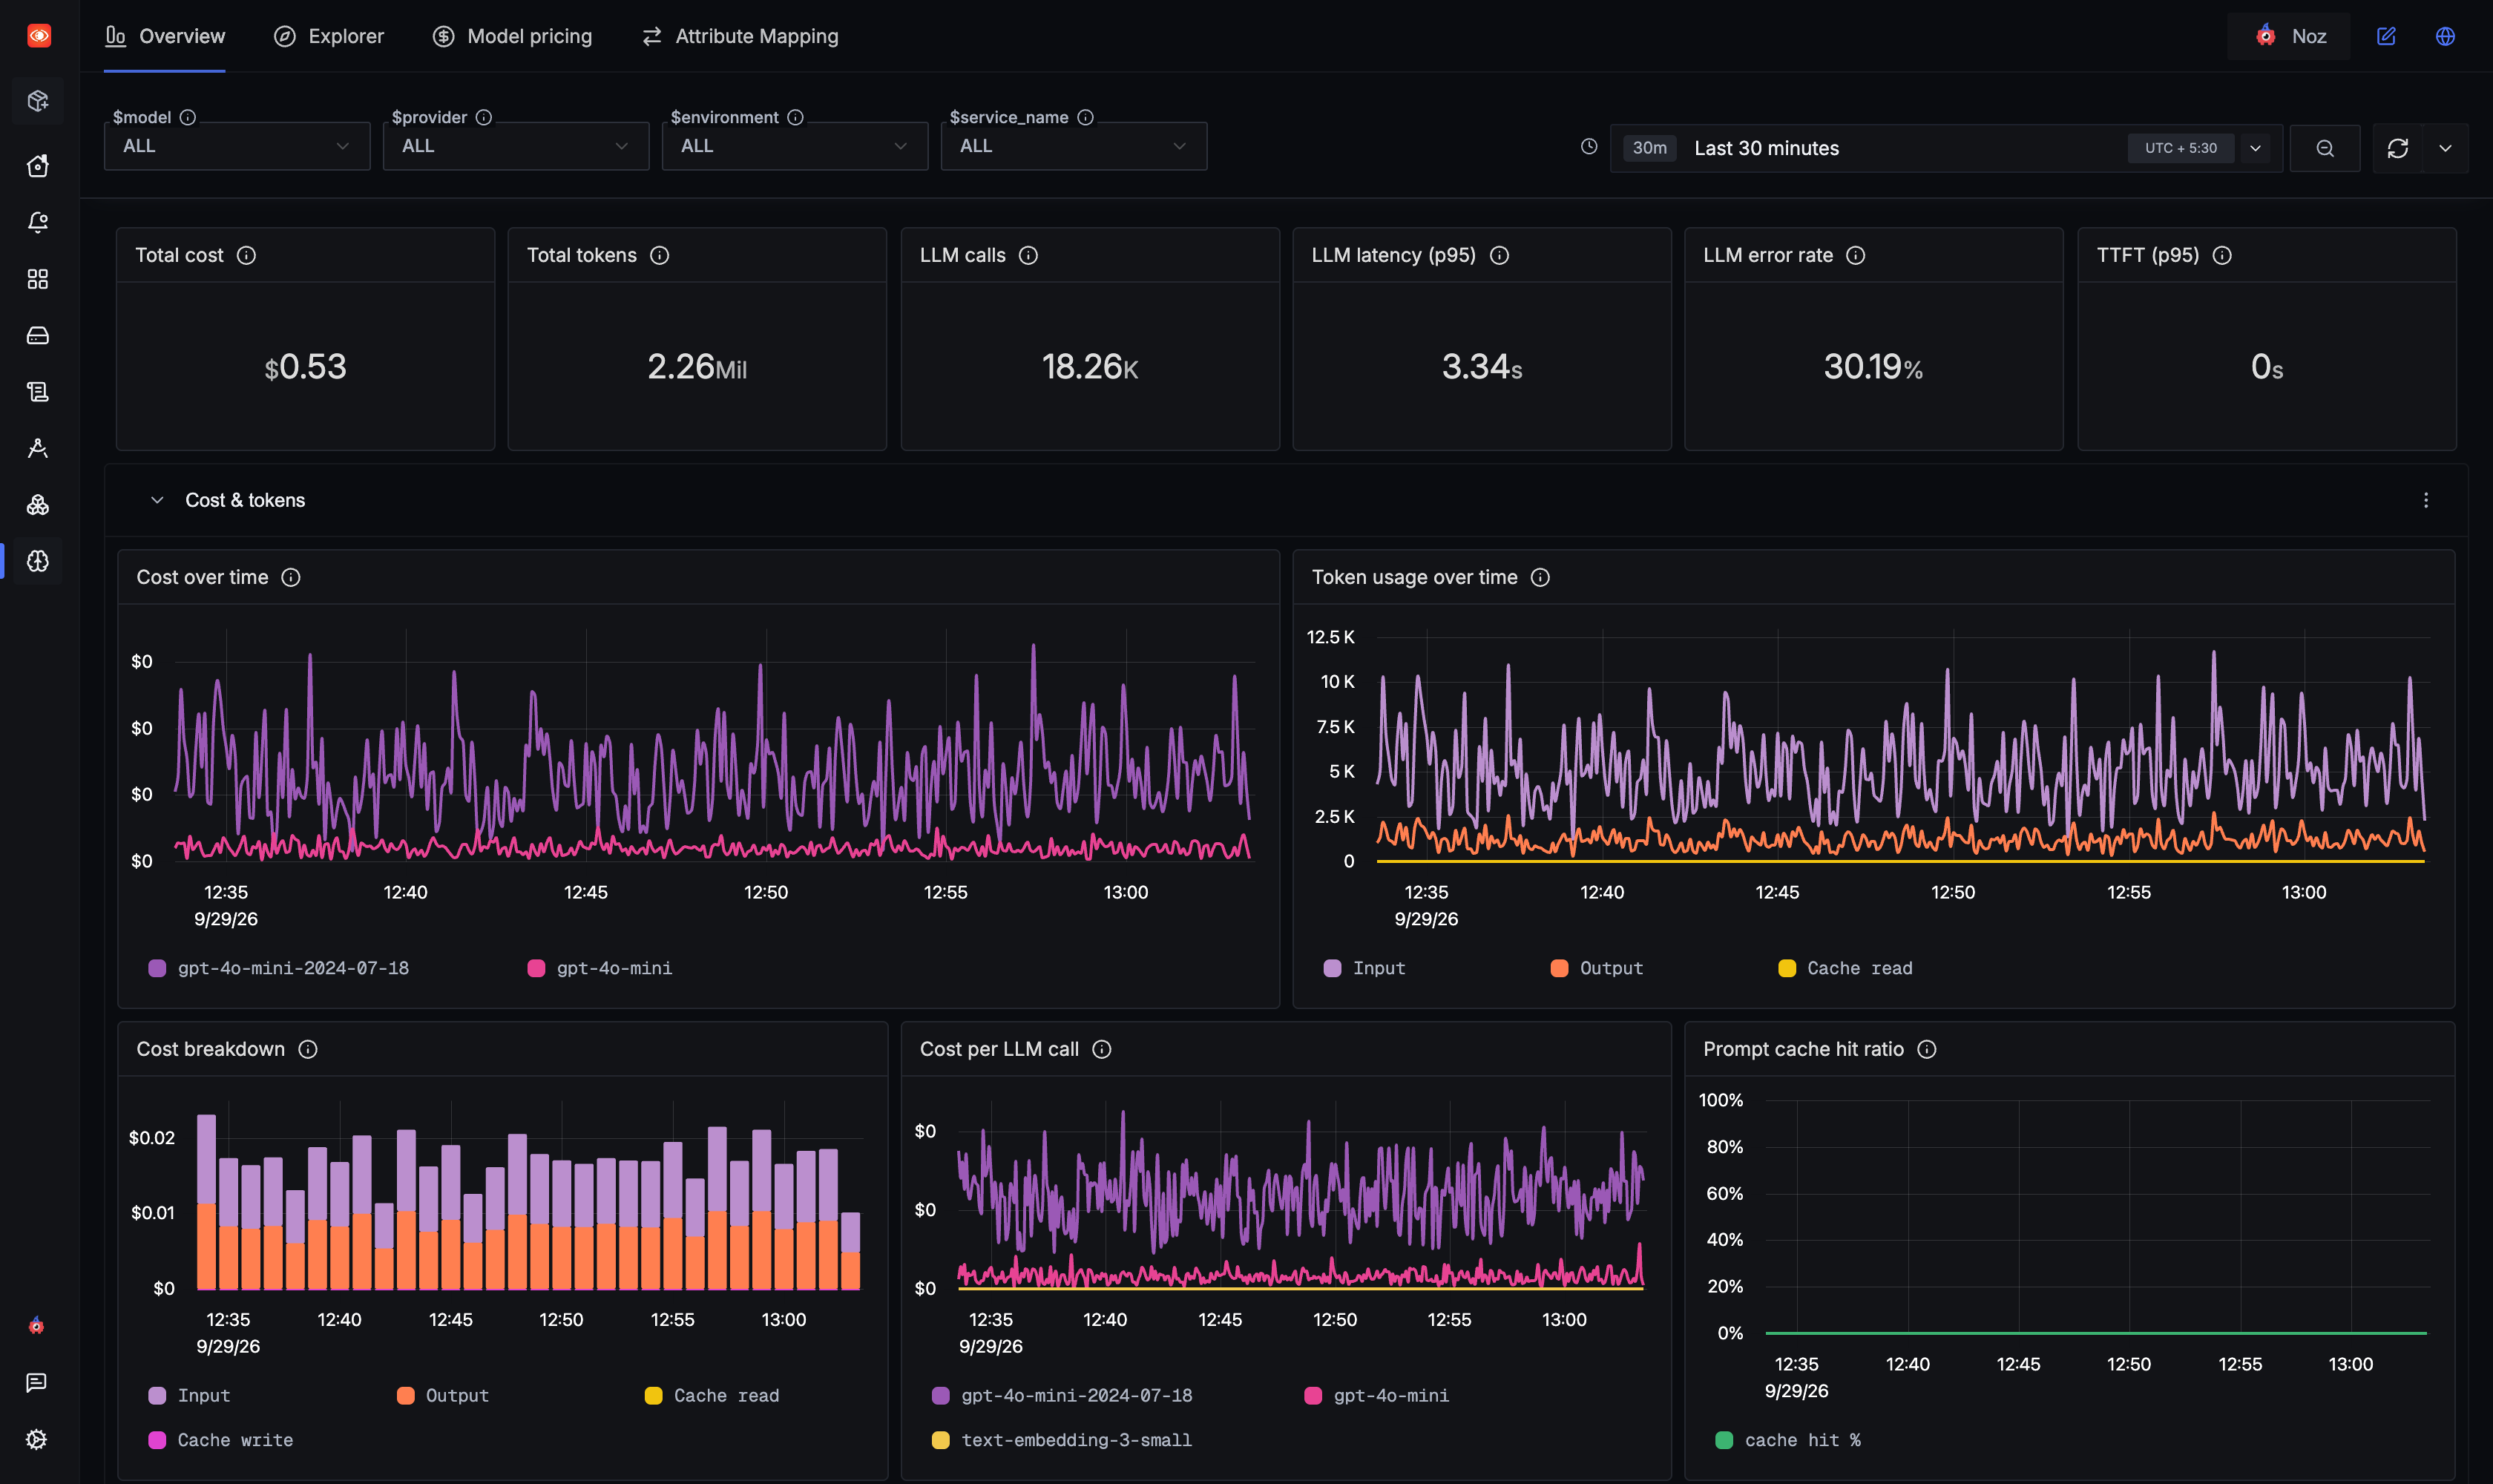
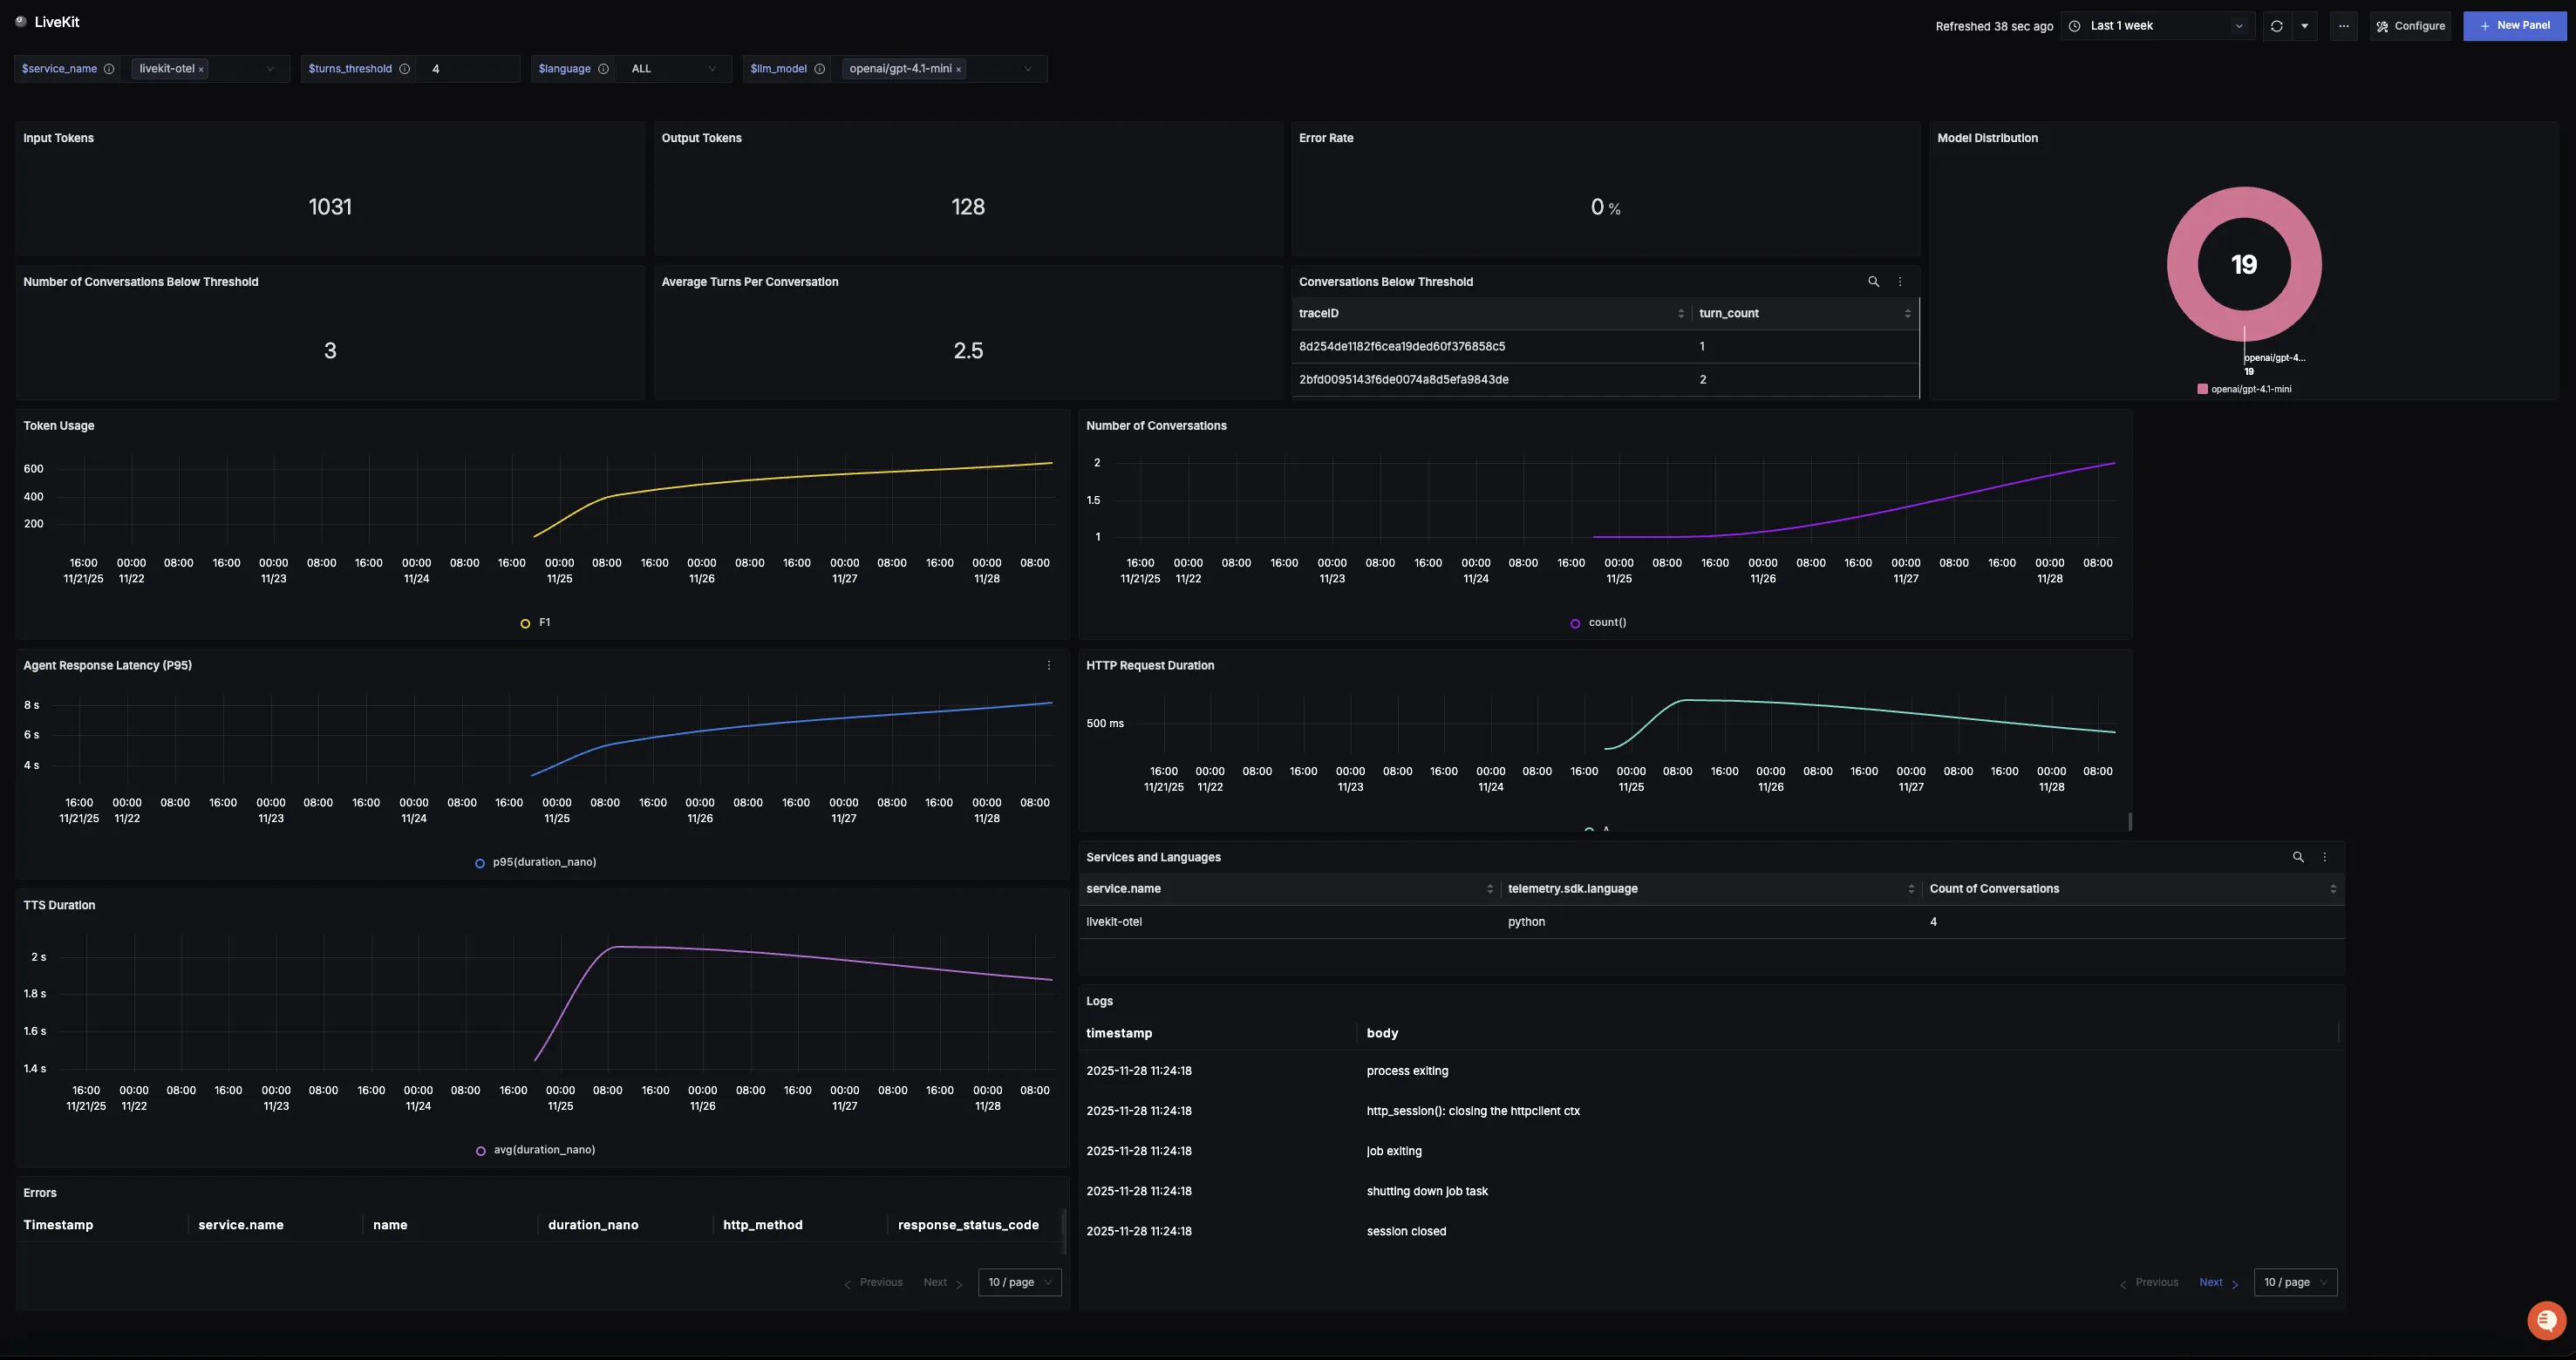
本指南将带你使用 OpenTelemetry 为 LiveKit 搭建可观测性和监控体系,并将日志、链路和指标导出到 SigNoz。完成集成后,你可以在 SigNoz 中观察各模型的性能、捕获请求/响应详情、追踪系统级指标,实时掌握 LiveKit 应用的延迟、错误率和使用趋势。
为 AI 应用中的 LiveKit 接入遥测,可以实现对语音智能体工作流的全面可观测,让你更轻松地排查问题、优化性能、理解用户交互。借助 SigNoz,你可以在统一的面板中分析关联的链路、日志和指标,配置告警,并获得可落地的洞察,持续提升可靠性、响应速度和用户体验。
前置条件
- 拥有有效 ingestion key 的 SigNoz Cloud 账号,或 自托管的 SigNoz 实例
- 能访问互联网,以便向 SigNoz Cloud 发送遥测数据
- Python 3.10+,并已安装 LiveKit
- Python 环境需安装
uv用于管理依赖包 - LiveKit Cloud 账号
- 已安装 LiveKit CLI
监控 LiveKit
如需了解如何用 OpenTelemetry 为 LiveKit 应用接入遥测的更多细节,请点击这里。
Python按照 LiveKit 入门文档,先搭建一个 LiveKit 示例项目。
No Code(Recommended)Code推荐使用无代码自动接入方式,改动最少、上手最快。适合希望不改应用代码就能快速获得可观测性,且使用标准 instrumentor 库的场景。
步骤 1:克隆示例语音智能体项目并安装依赖
Copygit clone https://github.com/livekit-examples/agent-starter-python
cd agent-starter-python
uv sync步骤 2:配置凭证
将 .env.example 复制为 .env.local,并填写所需的密钥:
LIVEKIT_URLLIVEKIT_API_KEYLIVEKIT_API_SECRET
使用 LiveKit CLI 自动加载 LiveKit 环境变量:
Copylk cloud auth
lk app env -w -d .env.local第 3 步:添加自动插桩
Copyuv pip install opentelemetry-distro opentelemetry-exporter-otlp
uv run opentelemetry-bootstrap -a requirements | uv pip install --requirement -第 4 步:为你的 LiveKit 应用添加插桩
指标:
Copyfrom livekit.agents import metrics
from livekit.agents.voice import MetricsCollectedEvent
@session.on("metrics_collected")
def _on_metrics_collected(ev: MetricsCollectedEvent):
metrics.log_metrics(ev.metrics)链路追踪:
Copyfrom livekit.agents.telemetry import set_tracer_provider
from opentelemetry import trace
set_tracer_provider(trace.get_tracer_provider())关于如何配置插桩的更多详细信息,请参阅此示例仓库。
第 5 步:你的 agent.py 应该类似以下内容:
import logging from dotenv import load_dotenv from livekit import rtc from livekit.agents import ( Agent, AgentServer, AgentSession, JobContext, JobProcess, cli, inference, room_io, metrics, ) from livekit.plugins import noise_cancellation, silero from livekit.plugins.turn_detector.multilingual import MultilingualModel from livekit.agents.telemetry import set_tracer_provider from opentelemetry import trace from livekit.agents.voice import MetricsCollectedEvent logger = logging.getLogger("agent") load_dotenv(".env.local") class Assistant(Agent): def __init__(self) -> None: super().__init__( instructions="""You are a helpful voice AI assistant. The user is interacting with you via voice, even if you perceive the conversation as text. You eagerly assist users with their questions by providing information from your extensive knowledge. Your responses are concise, to the point, and without any complex formatting or punctuation including emojis, asterisks, or other symbols. You are curious, friendly, and have a sense of humor.""", ) server = AgentServer() def prewarm(proc: JobProcess): proc.userdata["vad"] = silero.VAD.load() server.setup_fnc = prewarm @server.rtc_session() async def my_agent(ctx: JobContext): set_tracer_provider(trace.get_tracer_provider()) # 日志配置 # 在这里添加希望出现在所有日志条目中的其他上下文信息 ctx.log_context_fields = { "room": ctx.room.name, } # 使用 OpenAI、Cartesia、AssemblyAI 和 LiveKit turn detector 搭建语音 AI 流水线 session = AgentSession( # 语音转文字(STT)是 agent 的耳朵,把用户的语音转换成 LLM 能理解的文本 # 可用模型见 https://docs.livekit.io/agents/models/stt/ stt=inference.STT(model="assemblyai/universal-streaming", language="en"), # 大语言模型(LLM)是 agent 的大脑,负责处理用户输入并生成回复 # 可用模型见 https://docs.livekit.io/agents/models/llm/ llm=inference.LLM(model="openai/gpt-4.1-mini"), # 文字转语音(TTS)是 agent 的声音,把 LLM 生成的文本转换成用户能听到的语音 # 可用模型和音色选择见 https://docs.livekit.io/agents/models/tts/ tts=inference.TTS( model="cartesia/sonic-3", voice="9626c31c-bec5-4cca-baa8-f8ba9e84c8bc" ), # VAD 和 turn detection 用于判断用户何时在说话、agent 何时该回应 # 更多信息见 https://docs.livekit.io/agents/build/turns turn_detection=MultilingualModel(), vad=ctx.proc.userdata["vad"], # 允许 LLM 在等待话轮结束时就提前生成回复 # 更多信息见 https://docs.livekit.io/agents/build/audio/#preemptive-generation preemptive_generation=True, ) @session.on("metrics_collected") def _on_metrics_collected(ev: MetricsCollectedEvent): metrics.log_metrics(ev.metrics) # 启动会话:初始化语音流水线并预热模型 await session.start( agent=Assistant(), room=ctx.room, room_options=room_io.RoomOptions( audio_input=room_io.AudioInputOptions( noise_cancellation=lambda params: noise_cancellation.BVCTelephony() if params.participant.kind == rtc.ParticipantKind.PARTICIPANT_KIND_SIP else noise_cancellation.BVC(), ), ), ) # 加入房间并连接用户 await ctx.connect() if __name__ == "__main__": cli.run_app(server)步骤 6:使用自动 instrumentation 运行应用
在首次运行前,你需要下载某些模型,例如 Silero VAD 和 LiveKit 的 turn detector:
Copyuv run python src/agent.py download-files接着,运行以下命令直接在终端中与你的 agent 交互:
CopyOTEL_RESOURCE_ATTRIBUTES="service.name=<service_name>" \ OTEL_EXPORTER_OTLP_ENDPOINT="https://ingest.<region>.signoz.cloud:443" \ OTEL_EXPORTER_OTLP_HEADERS="signoz-ingestion-key=<your-ingestion-key>" \ OTEL_EXPORTER_OTLP_PROTOCOL=grpc \ OTEL_TRACES_EXPORTER=otlp \ OTEL_METRICS_EXPORTER=otlp \ OTEL_LOGS_EXPORTER=otlp \ OTEL_PYTHON_LOG_CORRELATION=true \ OTEL_PYTHON_LOGGING_AUTO_INSTRUMENTATION_ENABLED=true \ <your_run_command with opentelemetry-instrument>
<service_name>:你的服务名称<region>:你的 SigNoz Cloud 区域<your-ingestion-key>:你的 SigNoz ingestion key- 将
<your_run_command>替换为你实际运行应用的命令。在此例中,应使用:uv run opentelemetry-instrument python src/agent.py console
使用 Self-Hosted SigNoz?大部分步骤相同。若需适配本指南,请按照 Cloud → Self-Hosted 的说明,更新 endpoint 并移除 ingestion key 头部。
基于代码的 instrumentation 可让你对遥测配置进行细粒度控制。当你需要自定义 resource attributes、采样策略,或集成现有的可观测性基础设施时,采用此方式。
步骤 1:克隆示例语音 agent 项目并配置依赖
Copygit clone https://github.com/livekit-examples/agent-starter-python
cd agent-starter-python
uv sync步骤 2:配置凭证
将 .env.example 复制为 .env.local 并填入所需的密钥:
LIVEKIT_URLLIVEKIT_API_KEYLIVEKIT_API_SECRET
使用 LiveKit CLI 自动加载 LiveKit 环境变量:
Copylk cloud auth
lk app env -w -d .env.local第 3 步:安装其他 OpenTelemetry 依赖
Copyuv pip install \
opentelemetry-api \
opentelemetry-sdk \
opentelemetry-exporter-otlp \
opentelemetry-instrumentation-httpx \
opentelemetry-instrumentation-system-metrics第 4 步:在 Python 应用中导入所需模块
Traces(链路追踪):
Copyfrom opentelemetry import trace
from opentelemetry.sdk.resources import Resource
from opentelemetry.sdk.trace import TracerProvider
from opentelemetry.sdk.trace.export import BatchSpanProcessor
from opentelemetry.exporter.otlp.proto.http.trace_exporter import OTLPSpanExporterLogs(日志):
Copyfrom opentelemetry.sdk._logs import LoggerProvider, LoggingHandler
from opentelemetry.sdk._logs.export import BatchLogRecordProcessor
from opentelemetry.exporter.otlp.proto.http._log_exporter import OTLPLogExporter
from opentelemetry._logs import set_logger_provider
import loggingMetrics(指标):
Copyfrom opentelemetry.sdk.metrics import MeterProvider
from opentelemetry.exporter.otlp.proto.http.metric_exporter import OTLPMetricExporter
from opentelemetry.sdk.metrics.export import PeriodicExportingMetricReader
from opentelemetry import metrics
from opentelemetry.instrumentation.system_metrics import SystemMetricsInstrumentor
from opentelemetry.instrumentation.httpx import HTTPXClientInstrumentor第 5 步:配置 OpenTelemetry Tracer Provider,将 traces 直接发送到 SigNoz Cloud
Copyfrom opentelemetry.sdk.resources import Resource
from opentelemetry.sdk.trace import TracerProvider
from opentelemetry.sdk.trace.export import BatchSpanProcessor
from opentelemetry.exporter.otlp.proto.http.trace_exporter import OTLPSpanExporter
from opentelemetry import trace
import os
resource = Resource.create({"service.name": "<service_name>"})
provider = TracerProvider(resource=resource)
span_expor